It’s the January full moon, and that means it’s time to start growing onions from seed.
This year, my goal is to grow 100 onions from seed and store them to use throughout the year. I’ll turn some into onion powder, use a few for batches of fire cider, and keep the rest in storage for cooking.
Onions are one of my favorite companion plants to use in the garden. They work well with other alliums, brassicas, beets, carrots, lettuce, peppers, spinach, and tomatoes. I’m planting these onions along the back of our raised bed to act as a border. Hopefully, they’ll deter the bunnies and neighborhood cats from climbing in.
I’ve picked three varieties of long-day onions to grow this year: Walla Walla, White Sweet Spanish, and Ruby Red. Walla Walla is a sweet yellow onion variety that’s great for eating fresh, but it doesn’t last long in storage. The extras will get frozen, turned into onion powder, or tossed into soup stocks. White Sweet Spanish and Ruby Red, on the other hand, keep well in storage. If I cure and store them properly, they should last us four to six months.
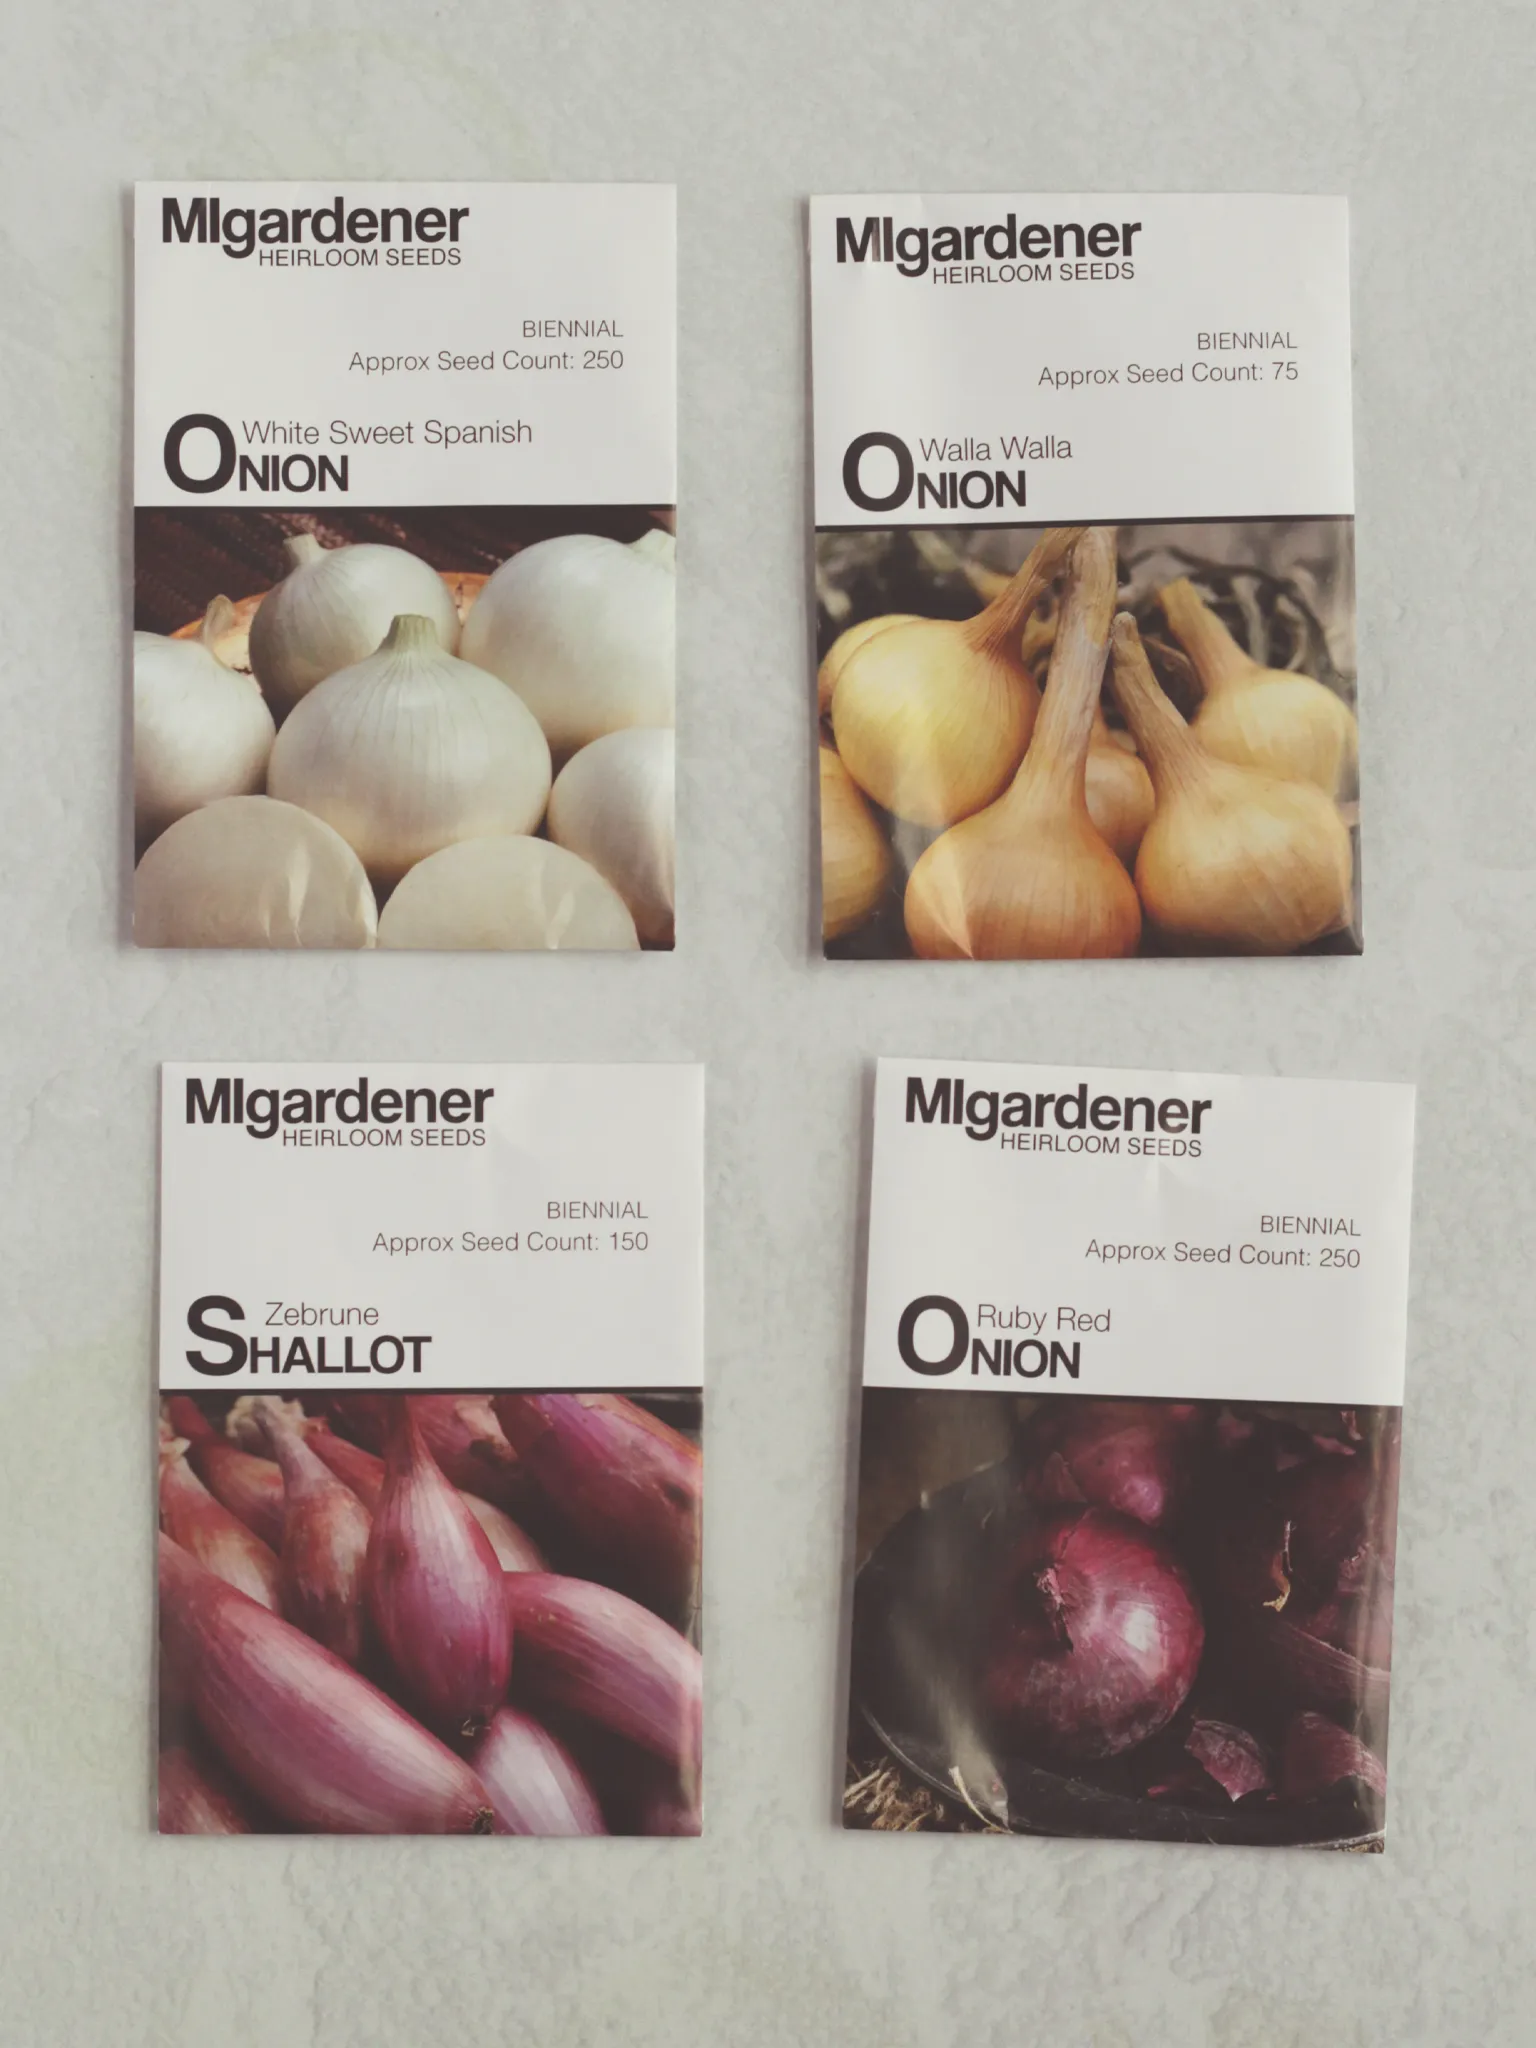
I’m also growing Zebrune shallots this year. I’m starting them by seed with the onions, and my goal is to grow about 24 plants. Since each one produces two or three bulbs, I’m hoping for at least 50 shallots to store for winter.
Join Our Newsletter
Sign up for our monthly newsletter to get easy gardening tips, seasonal to-dos, and herbal recipes delivered right to your inbox.
Thank you!
Check your email to confirm your subscription.
Growing Onions from Seed
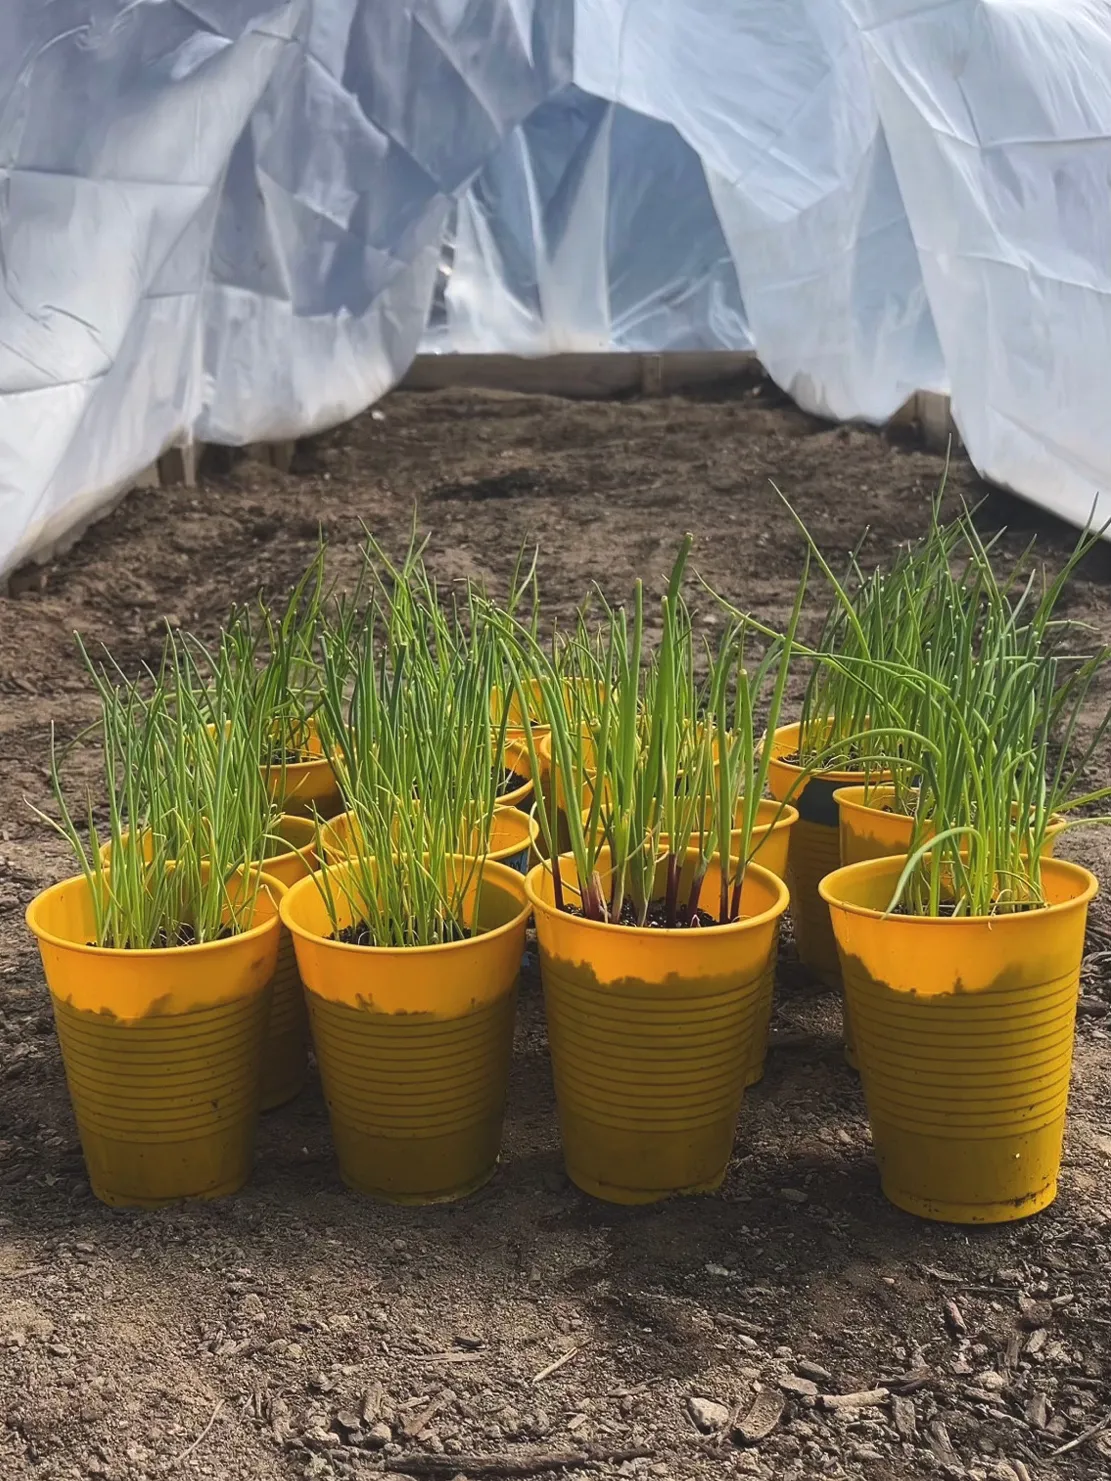
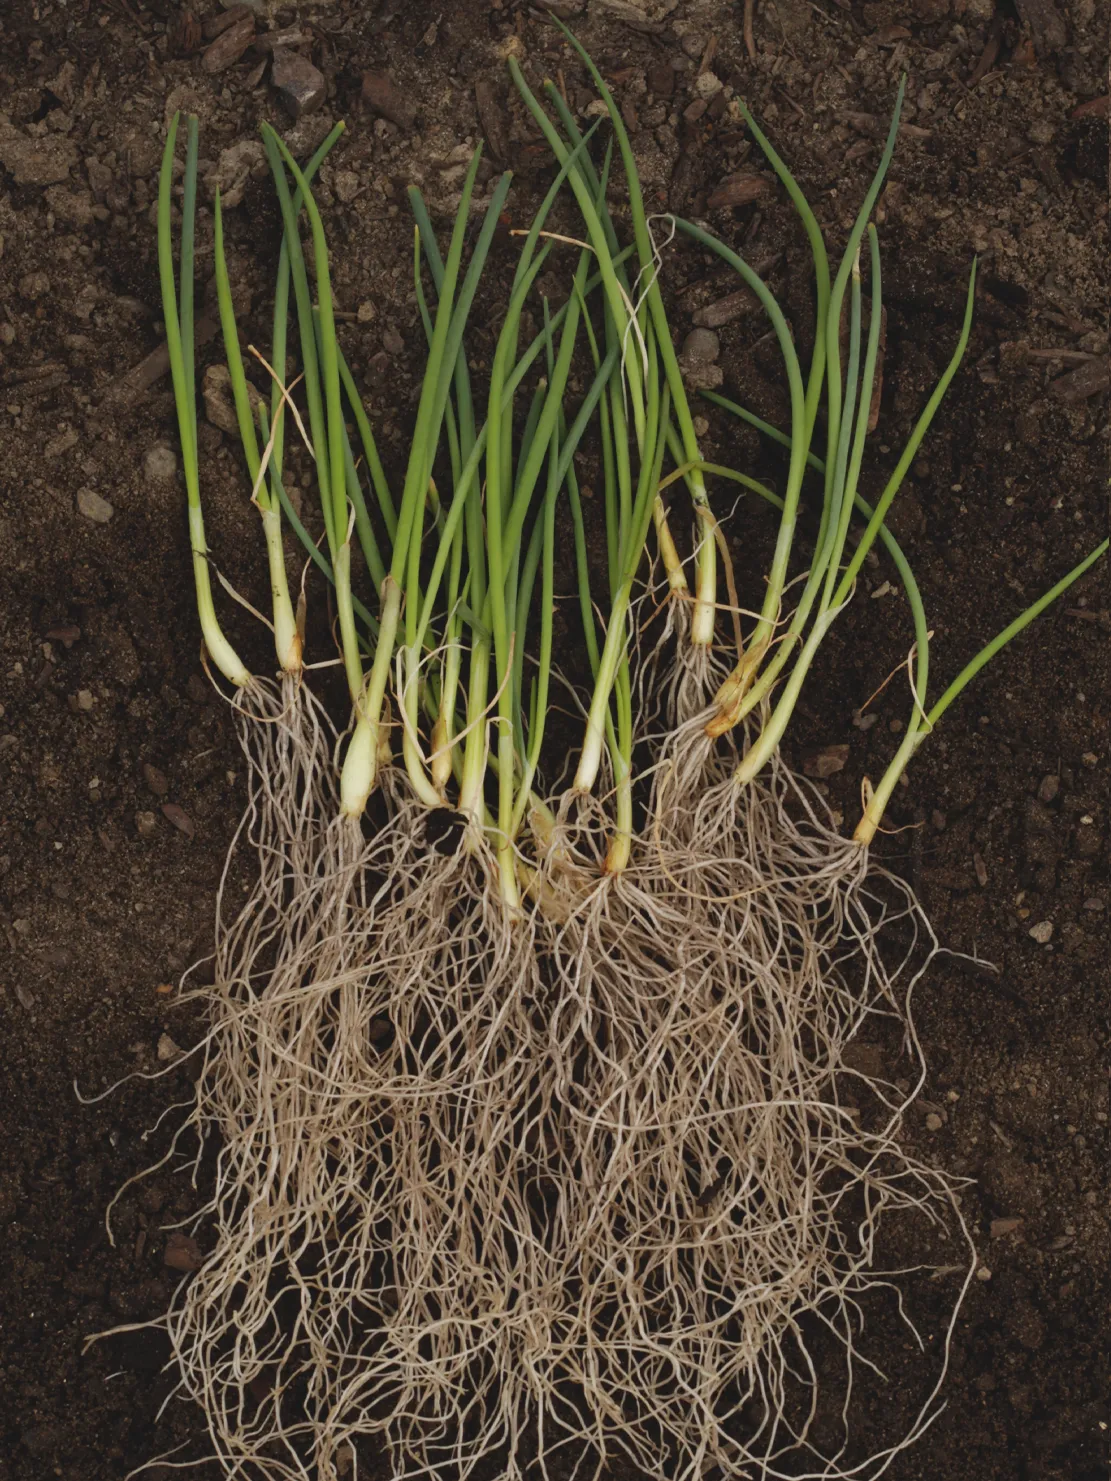
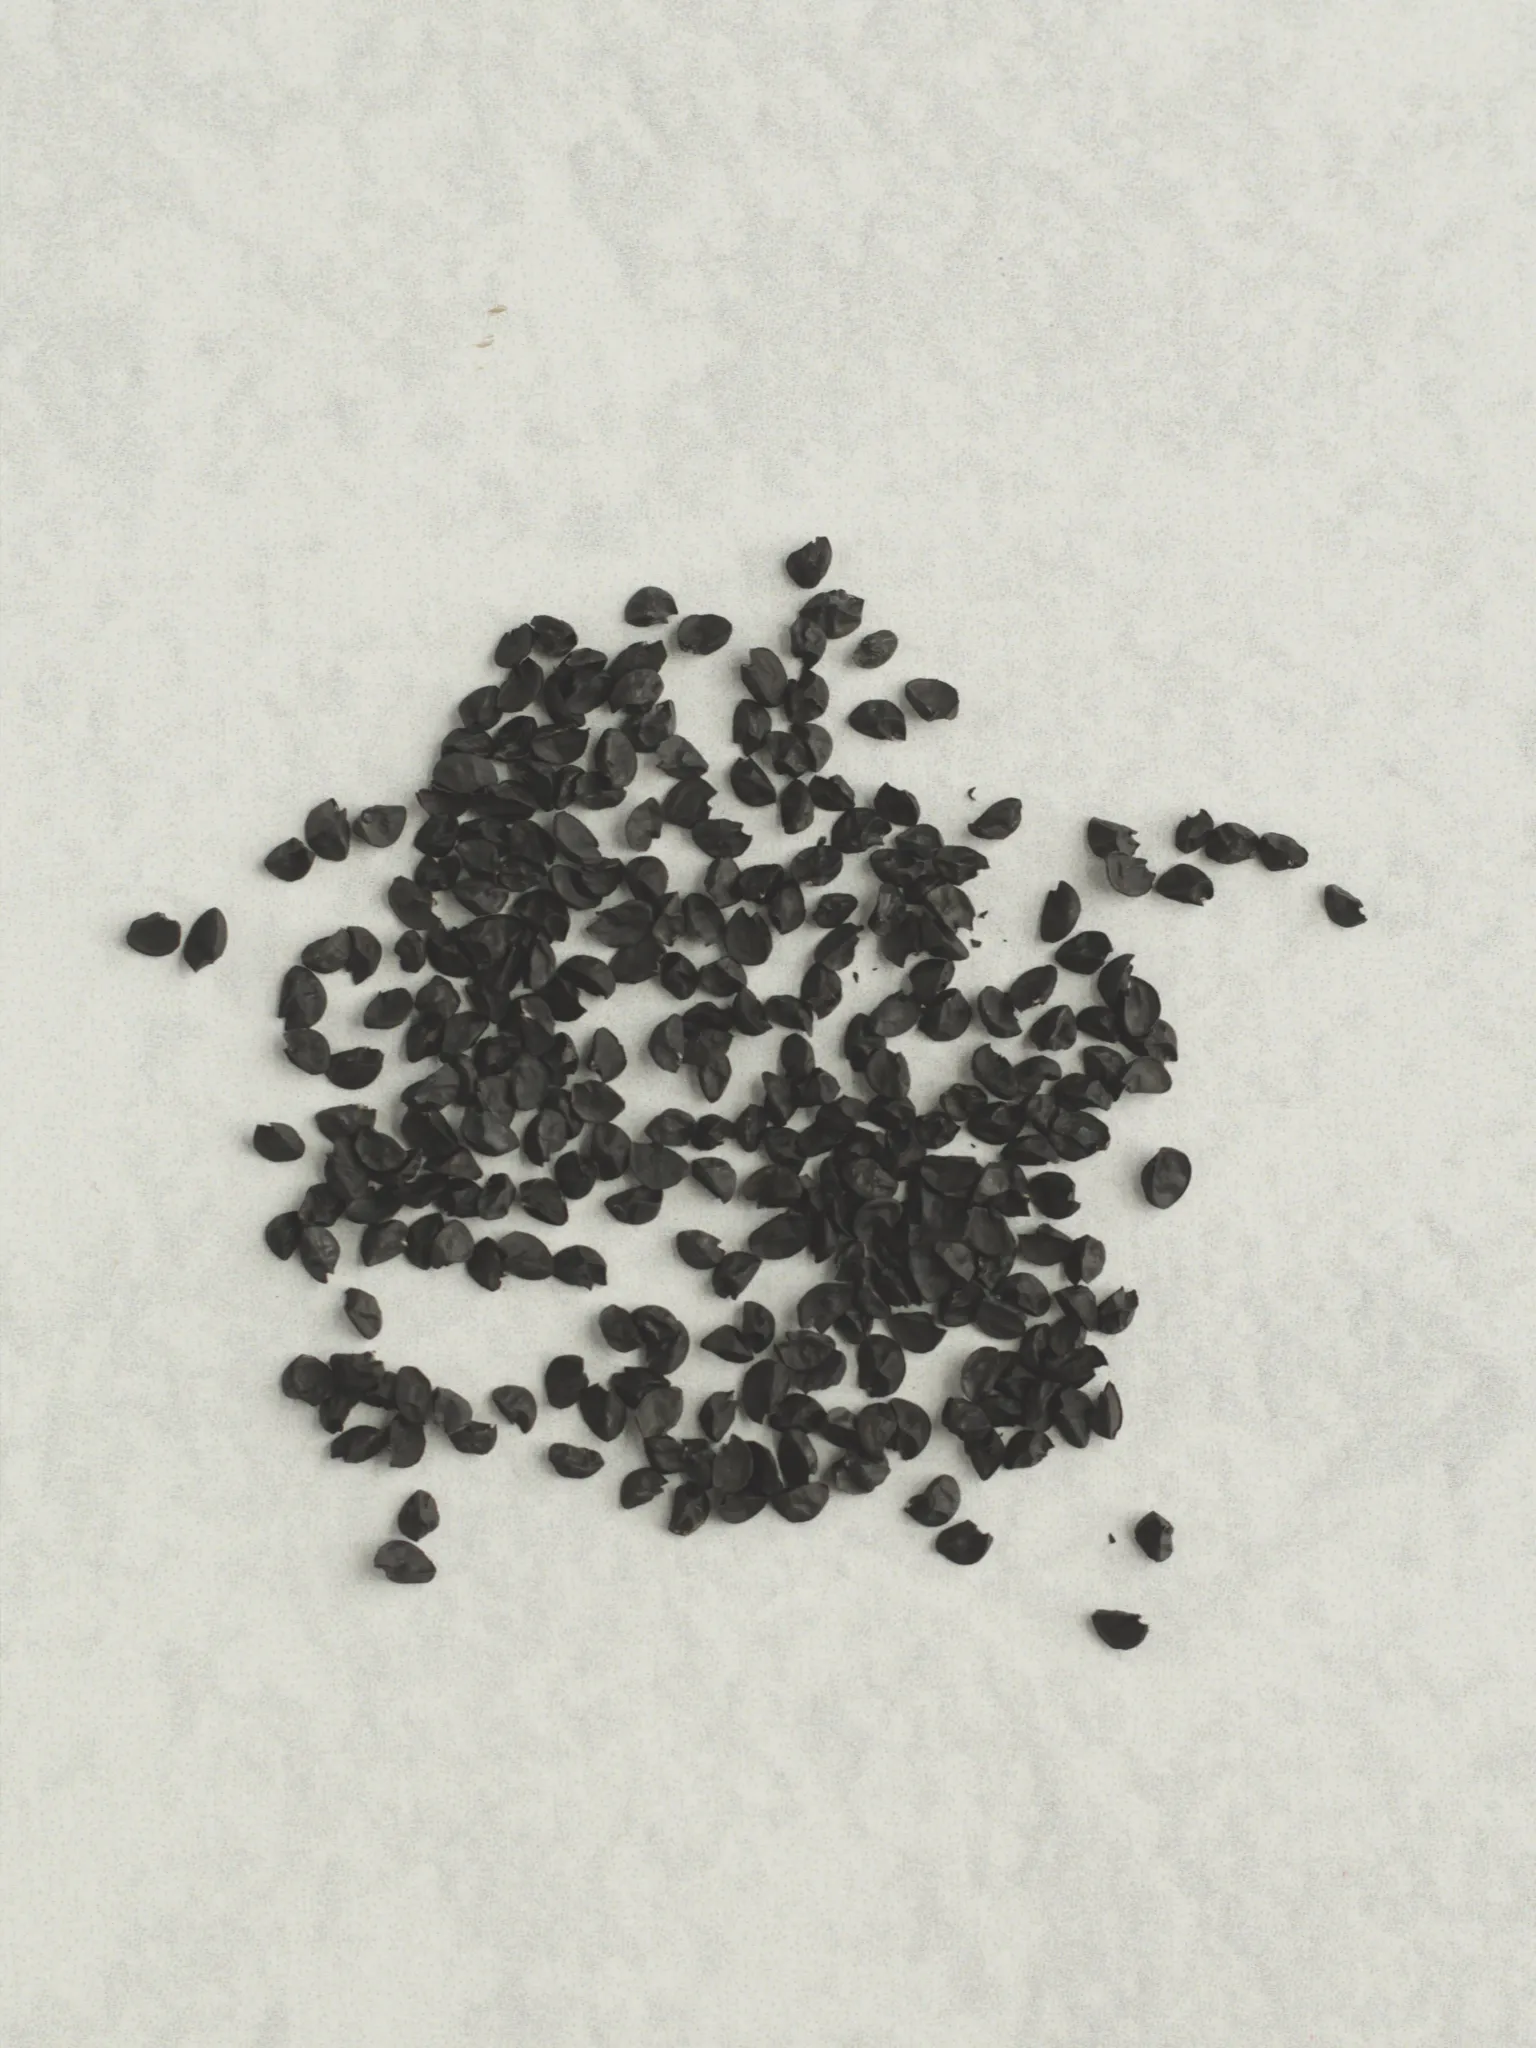
I sow onion seeds thickly in Solo cups because the roots don’t tangle, and they’re easy to separate when it’s time to transplant. I’m planning to sow about 30 seeds per cup and hope at least 20 of them sprout in each one.
Once the seedlings are a few inches tall, I’ll trim the tops of the leaves. This helps encourage more leaf growth and keeps the roots sturdy. By the time I transplant them outside in April, they should each have about three or four leaves.
As the onions grow in the garden, I’ll keep trimming any leaves that start to bend or turn brown. Each leaf represents a layer of the onion bulb, so keeping the plants focused on healthy leaf growth means bigger bulbs in the end.
How I Start Onion Seeds and Shallot Seeds Indoors
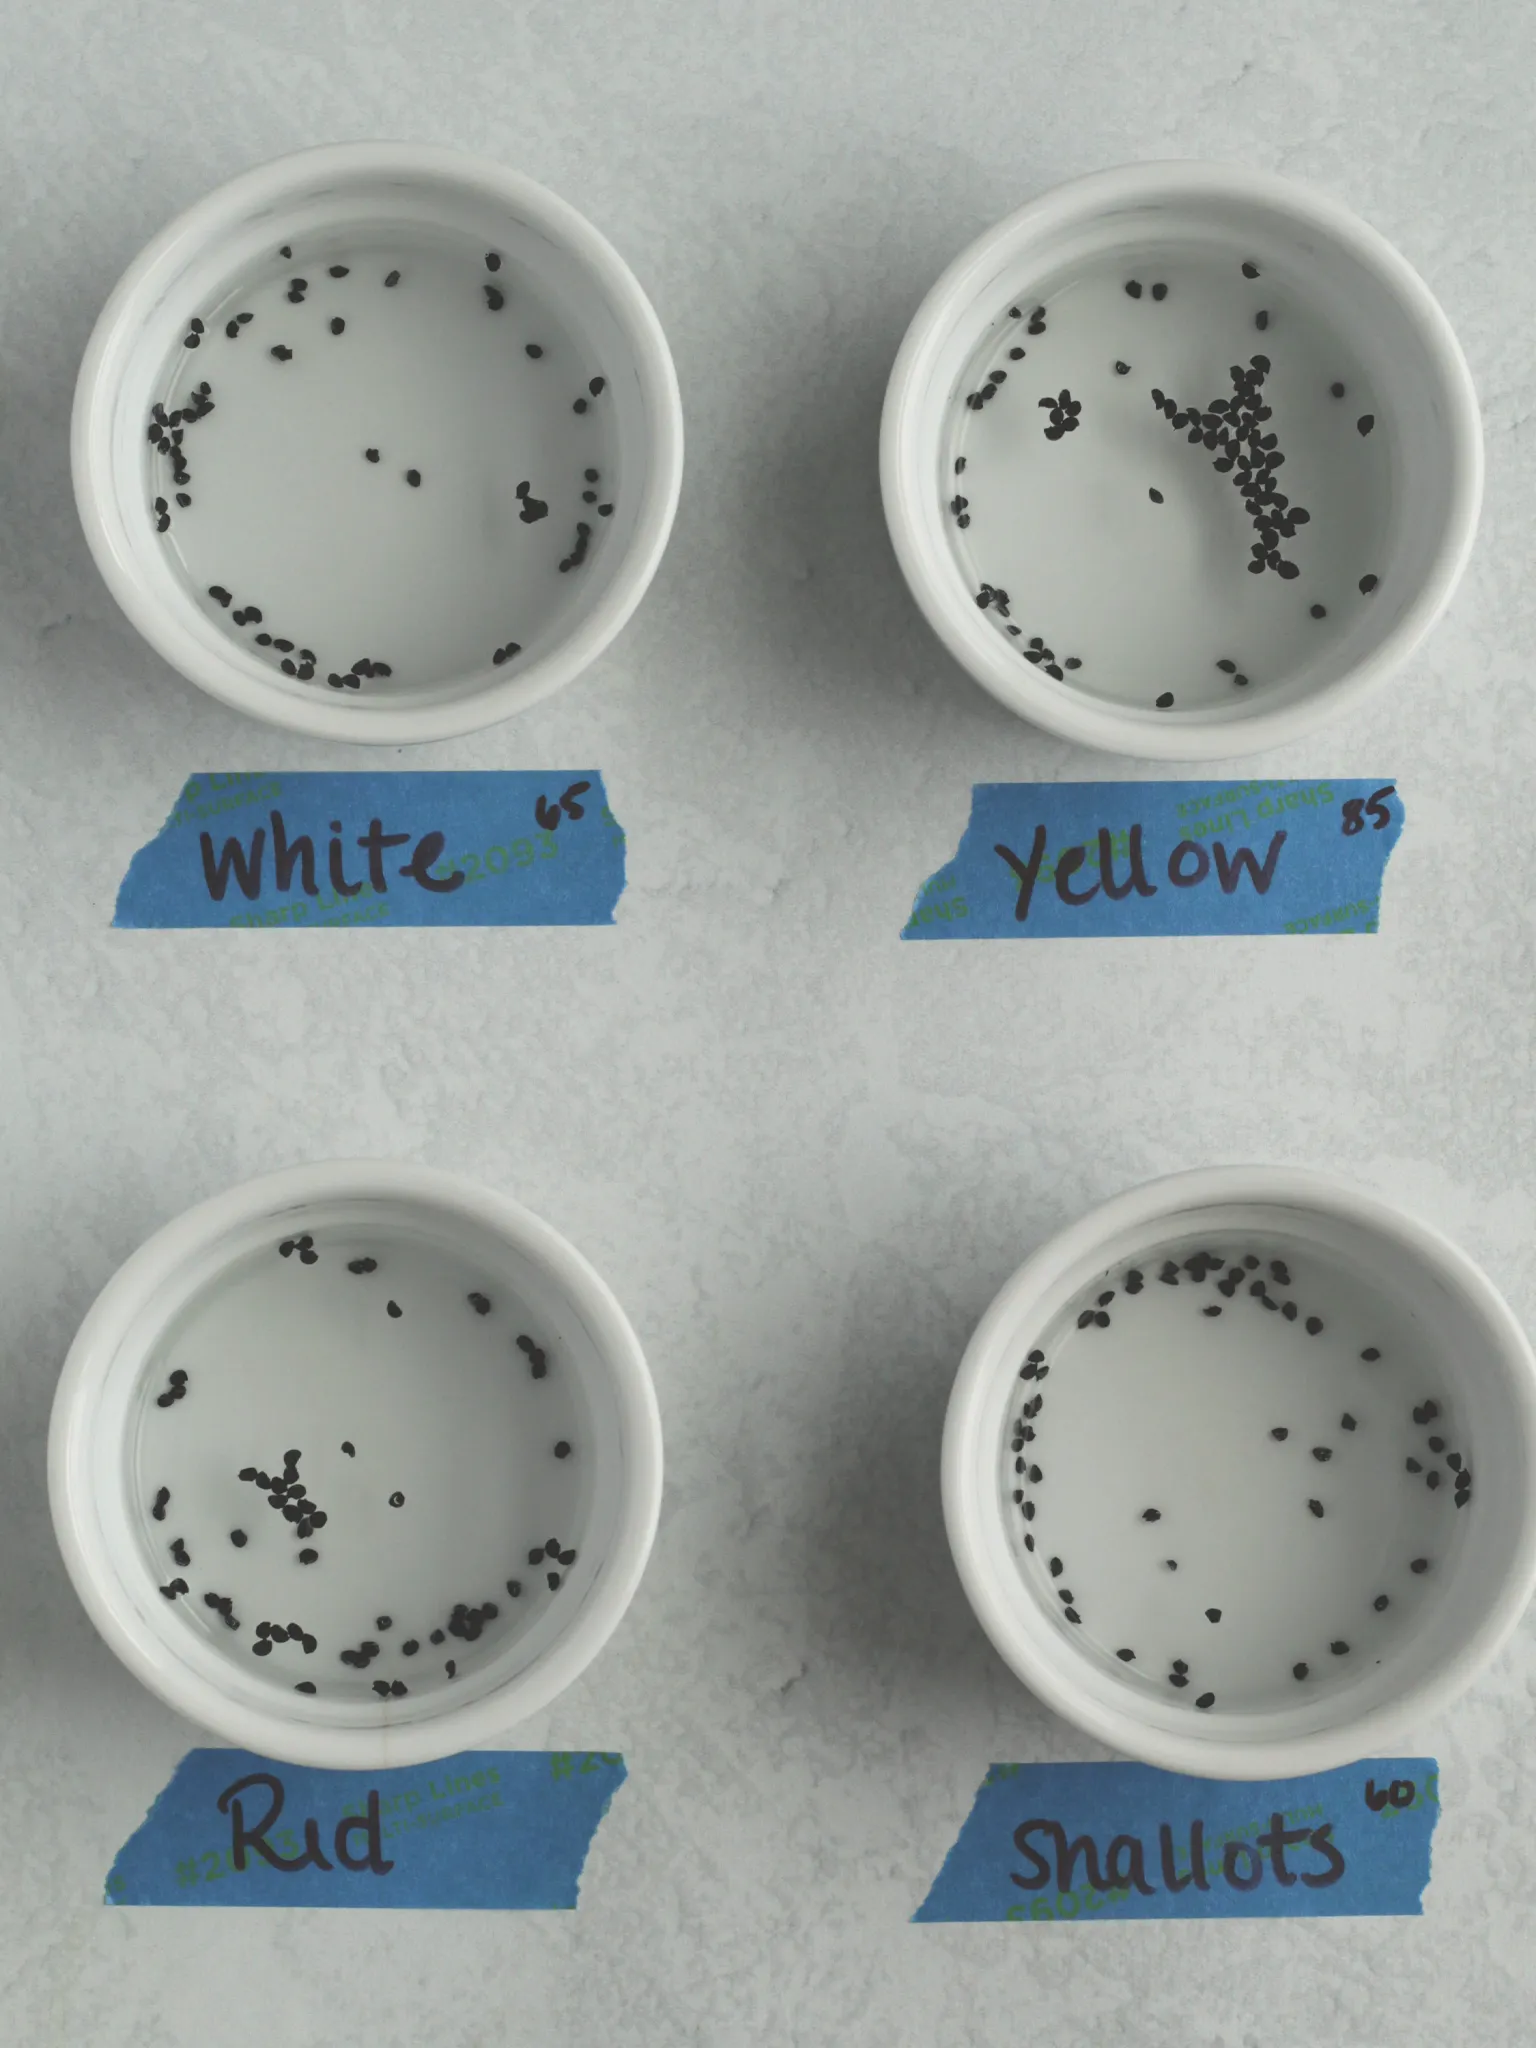
- Soak the seeds for at least 15 minutes in water, compost tea, or vermicompost tea.
- While the seeds are soaking, get the Solo cups ready. Poke a hole in the bottom of each cup for drainage. I like to use a sharp pencil for this. Label each cup with the onion variety so you can keep track of what’s what.
- Fill each cup with soil, leaving about an inch or two of space at the top. Water the soil well and pack it down so the seeds don’t fall through any large holes or cracks. I use the bottom of another Solo cup to do this.
- After the seeds have soaked for at least 15 minutes, strain them and pat them dry. Scatter the seeds on the packed soil, making sure they aren’t too close together. Cover the seeds with about 1/4 inch of soil and gently pack it down again. I like to add a light layer of vermiculite on top to help retain moisture, but it’s not necessary.
- Mist the top of the soil with water, then cover the cup with plastic wrap and secure it with a rubber band. Poke a few small holes in the plastic wrap to let some air in.
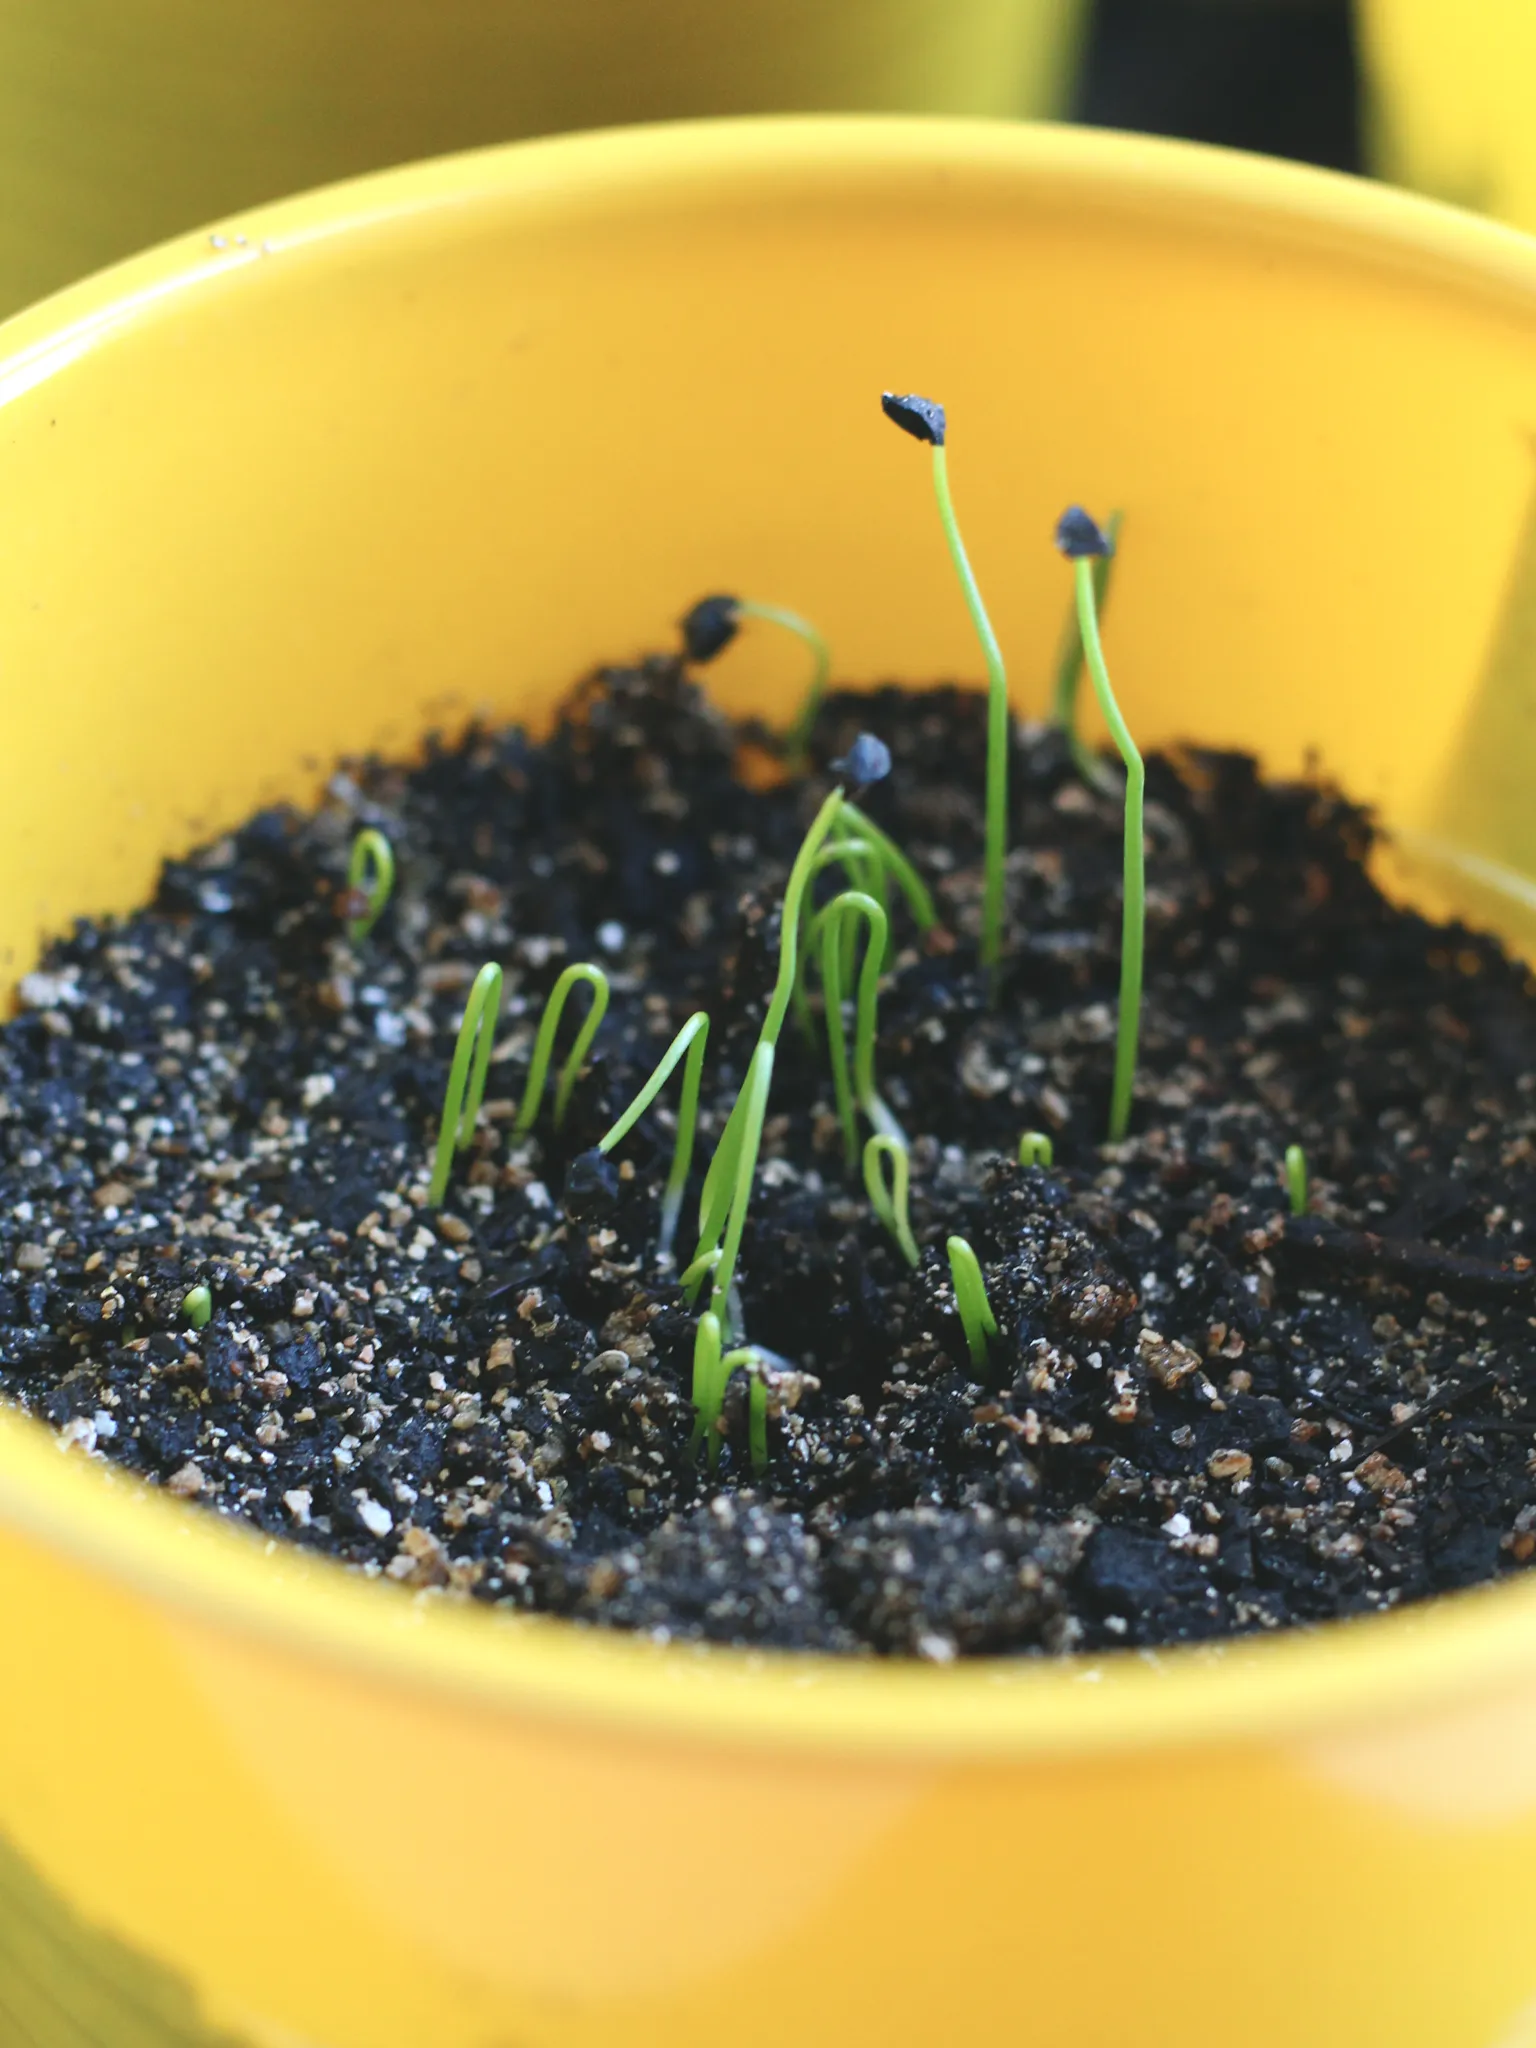
- I put the cups under grow lights to warm the soil up. As long as the soil stays warm and moist, the seeds should germinate within two weeks. Mist the soil as needed until the seeds sprout.
- Once the seedlings emerge, take off the plastic wrap and keep them under grow lights until April. About two weeks before transplanting, harden them off to prepare them for the garden.
- When they’re in the ground, fertilize periodically with nitrogen to encourage good leaf growth. I like to use liquid fish emulsion every two weeks or so.
- The onions should be ready to harvest by late June or early July, once all the tops have flopped over and the necks feel soft.
- After harvesting, cure the onions for four to six weeks. Once they’re cured, store them in a cold, dry spot like a root cellar or anywhere with temperatures around 32–40°F.
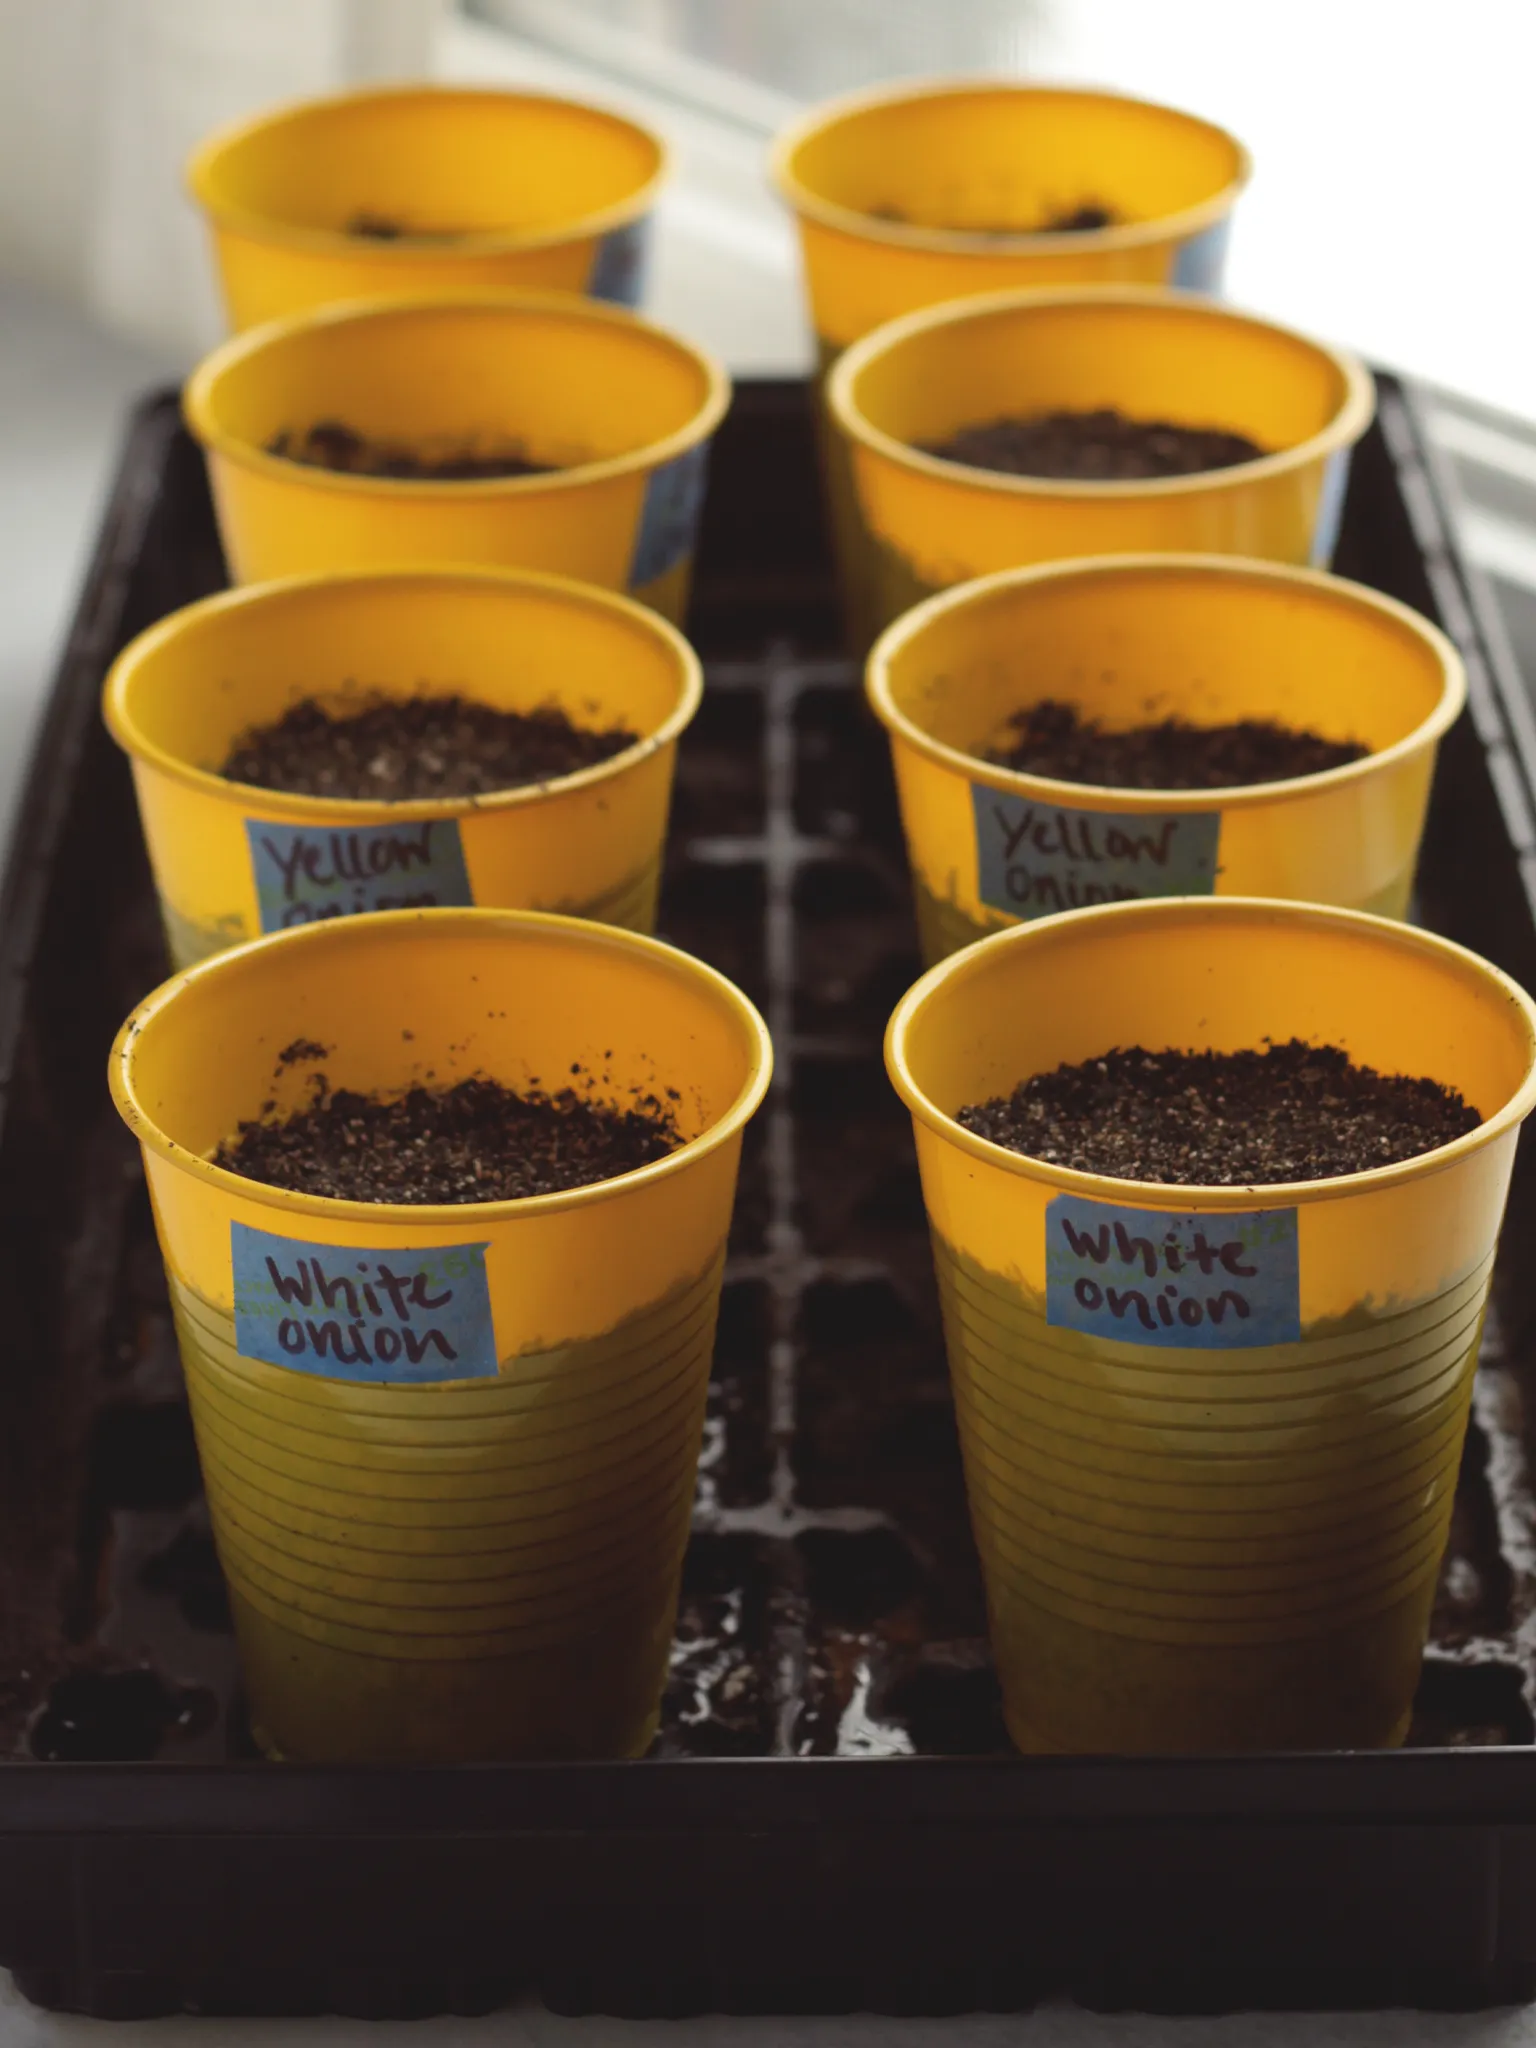
Onion Seedlings After 1 Week
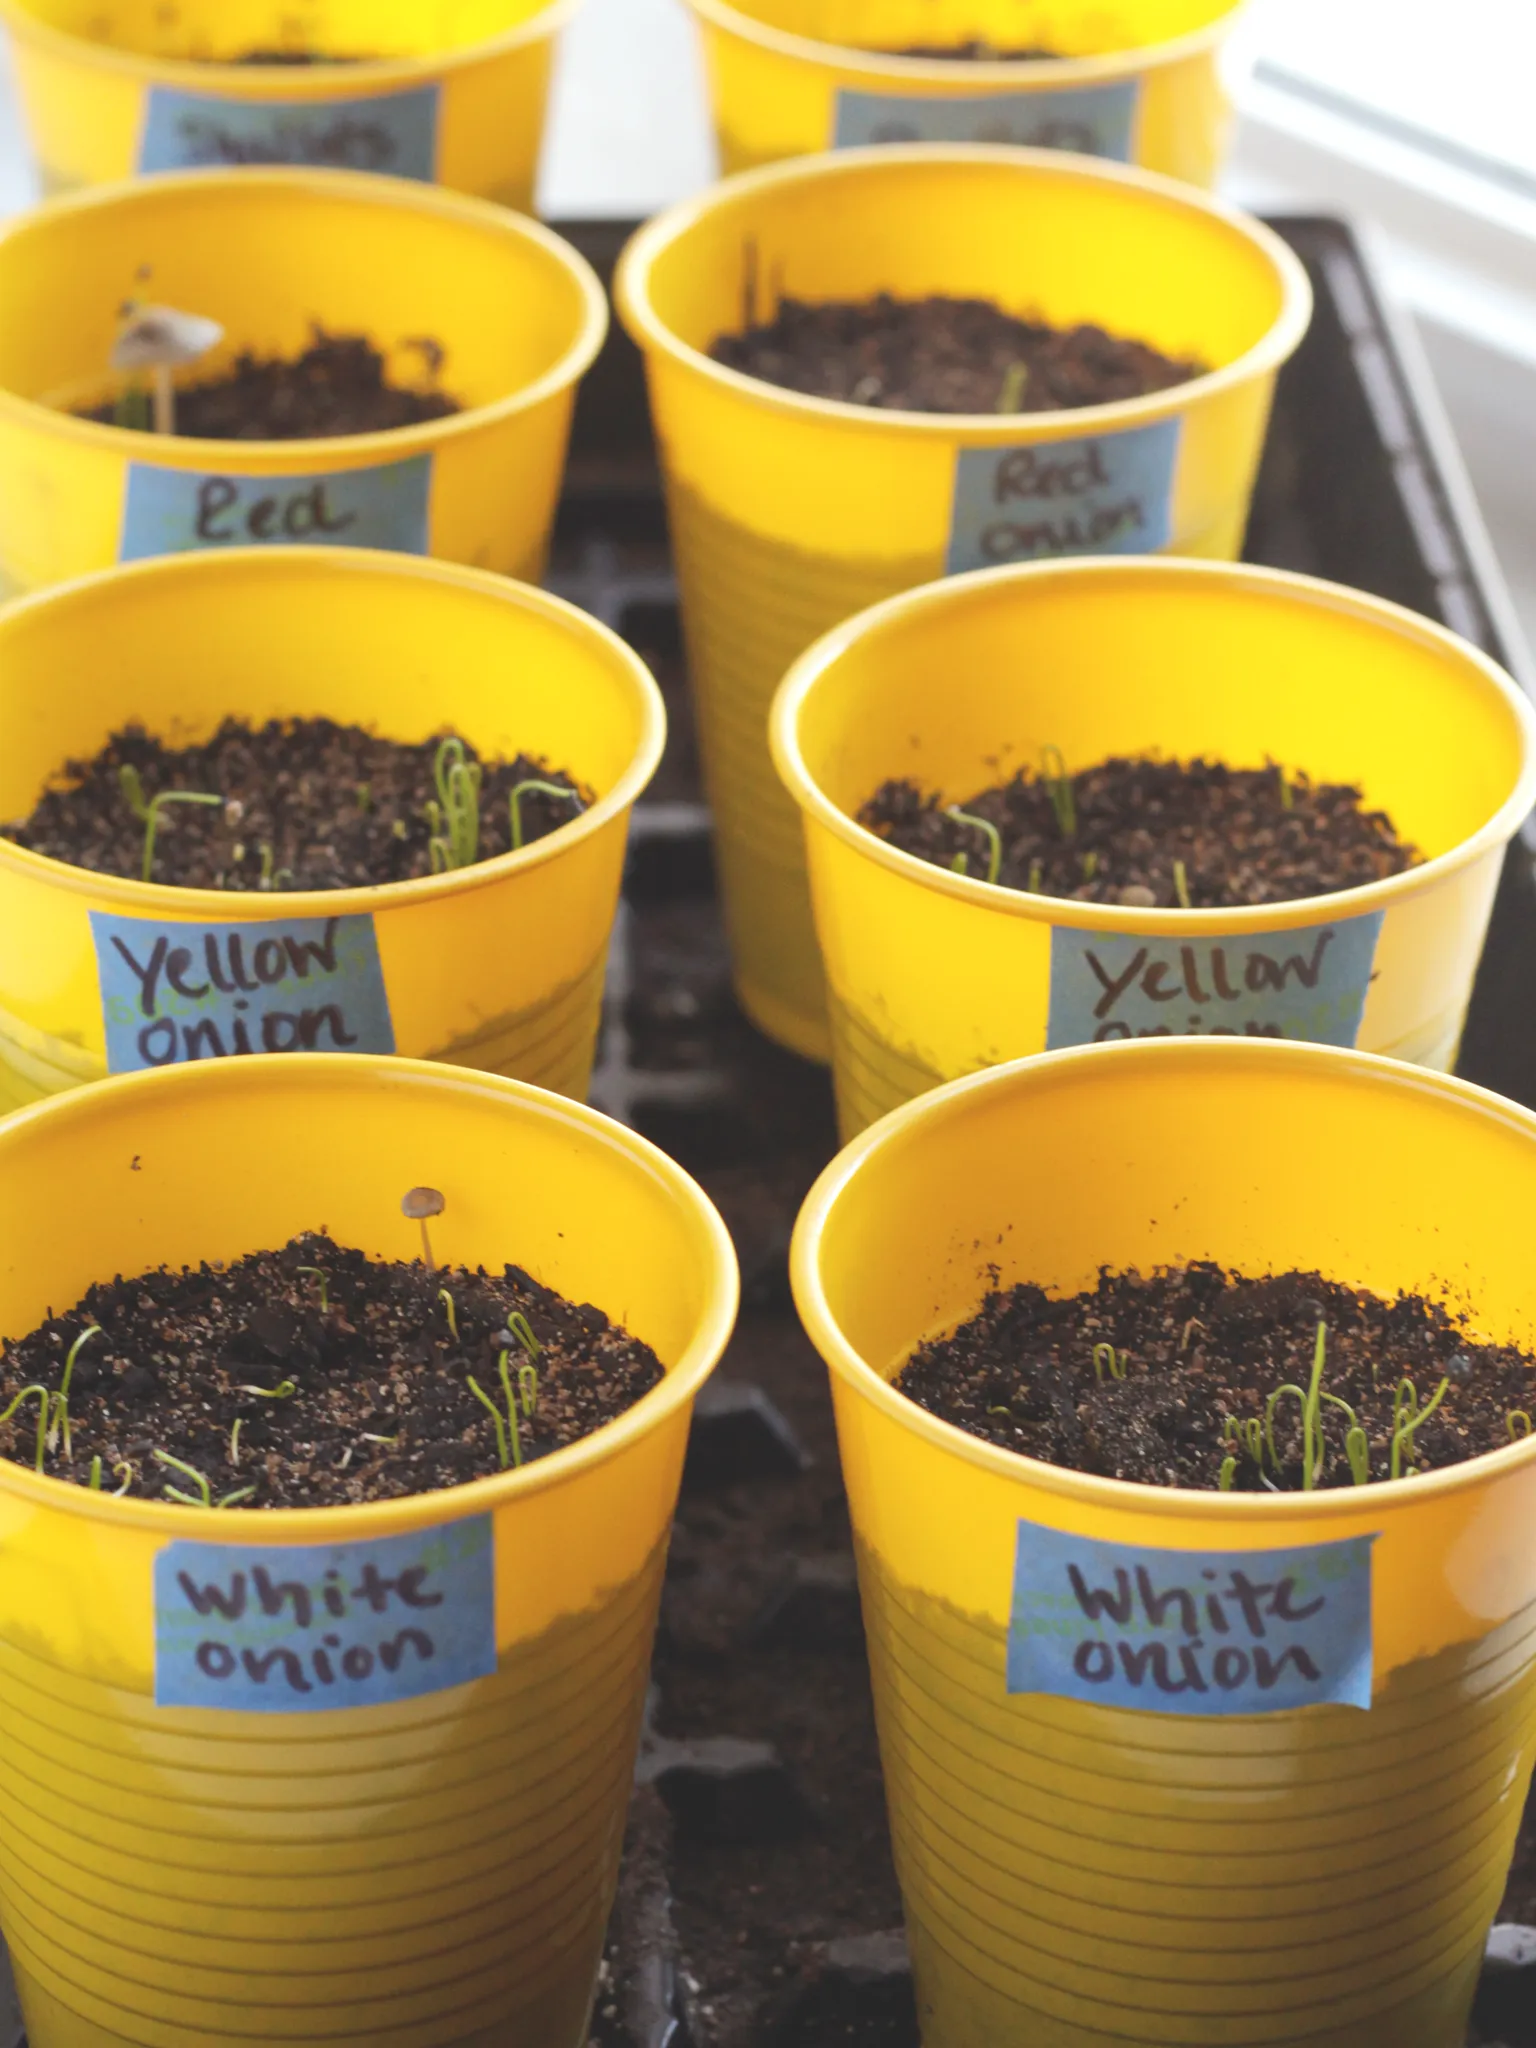
Onion Seedlings After 10 Weeks
