Spinach is really easy to grow from seed, and I plant about 9 per square foot with radishes in between. Radishes grow quickly and help suppress weeds while the spinach matures.
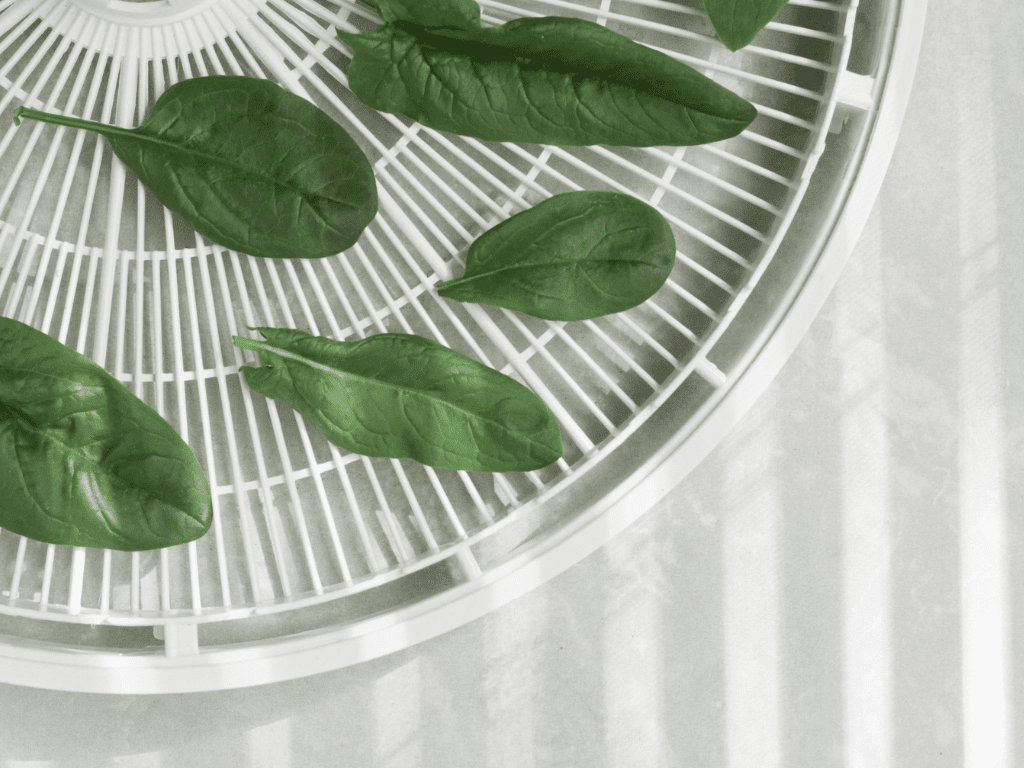
For fresh spinach in salads, harvest leaves when they are young. As the plant matures, the leaves can get slightly bitter and develop a leathery texture. I like to dehydrate the slightly older leaves and grind them into powders or add them to soups. I toss damaged or really old leaves in my vermicomposting bins because the worms love them!
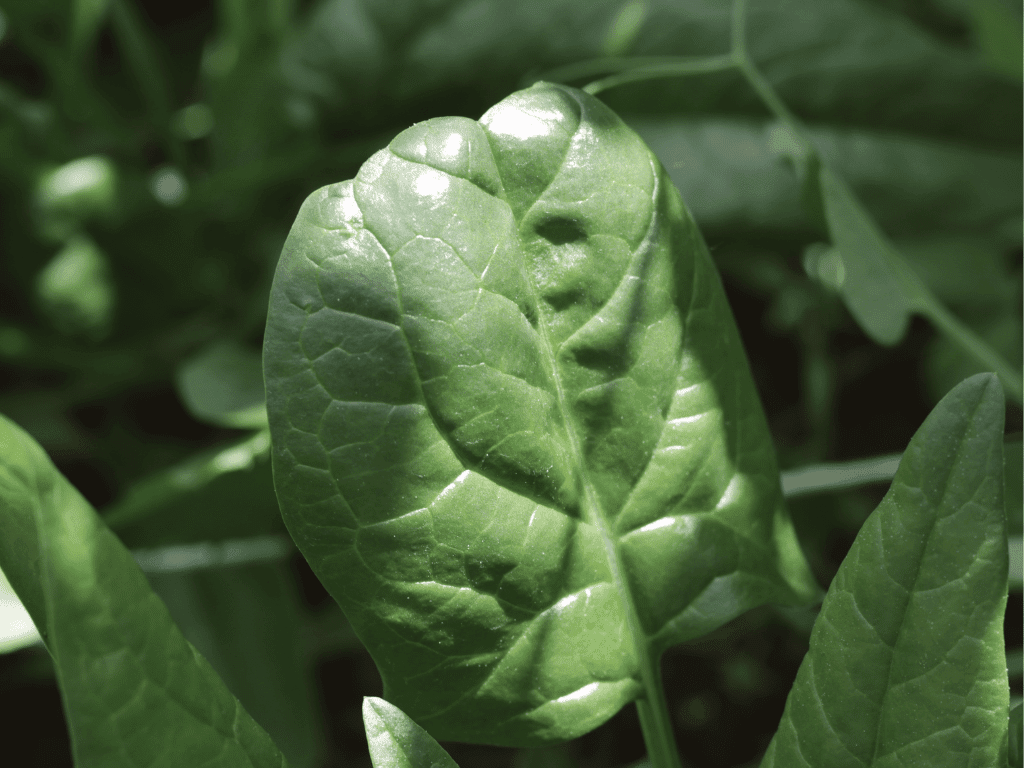
Understanding Spinach’s Growing Habits
Spinach is a cool-season crop that grows in temperatures between 35-75°F (2-24°C). It can be grown in both spring and fall, and in mild climates, it can even be grown throughout the winter. Spinach does best when days are short and temperatures are cool.
🌱 Spinach is a cut and come again plant, so you pick the leaves as you need them instead of cutting down the thing at once. The plant will continue to produce new leaves throughout the season.
How big does spinach get?
Spinach plants typically grow to a height of about 1 to 1.5 feet (30 to 45 cm) and can spread 1 foot (30 cm) wide. The size can vary depending on the specific variety of spinach and the growing conditions.
The leaves can be harvested when they’re just a couple of inches long for baby spinach, or allowed to grow to their full size, typically 3 to 5 inches long.
In a square foot gardening layout, you can grow about 9 spinach plants per square foot. Each plant should be spaced 3 to 4 inches apart.
Will spinach come back every year?
Spinach is an annual plant. This means it completes its entire lifecycle in one year. Unlike perennials, annual plants do not come back year after year.
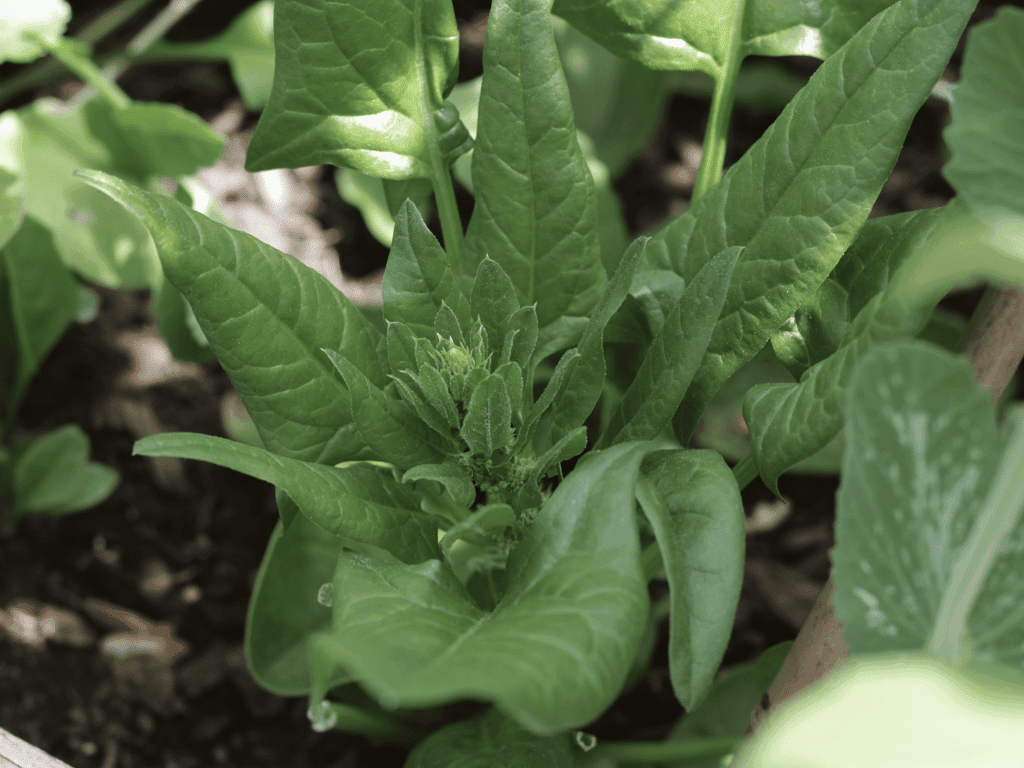
Choosing the Right Location
The location for your spinach plants should have good soil drainage and receive at least 6 hours of sunlight each day. If you’re growing spinach in a pot or container, ensure it’s at least 6-8 inches deep to accommodate the roots.
Planting Spinach: Step by Step
Sow the Seeds
Sow spinach seeds directly into your garden about 4 to 6 weeks before the last spring frost. Plant the seeds 1/2 inch deep and 3-4 inches apart. In a square foot garden layout, you can fit about 9 spinach plants per square.
If you are starting your seeds indoors, sow the spinach seeds about 6 to 8 weeks before the last spring frost. Transplant when the seedlings have 3-4 true leaves and outdoor soil temperatures are consistently above 40°F (4°C). Spinach roots are very sensitive to transplanting, so be gentle! They could bolt after transplanting.
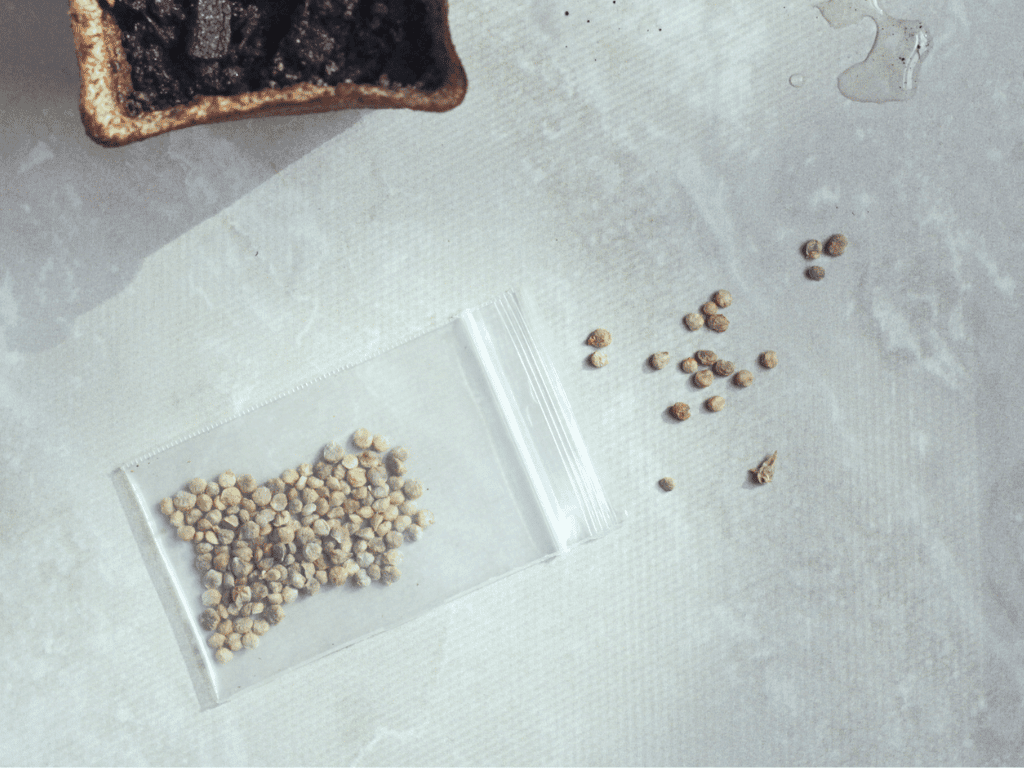
Spinach seeds from seedsnow.com
Caring for the Seedlings
After sowing, water the seeds lightly. Spinach seeds need moisture to germinate, so keep the soil consistently moist but not waterlogged. If you anticipate dry conditions, cover the soil with cardboard, newspaper, or leaf mulch to keep the soil consistently moist.
Your spinach seeds will germinate between 5 to 14 days after planting, depending on the soil temperature and the variety of spinach. These plants prefers cooler temperatures for germination. The optimal soil temperature for their germination is between 50°F (10°C) and 75°F (24°C). However, spinach seeds can germinate in temperatures as low as 35°F (1.7°C).
Transplanting the Seedlings
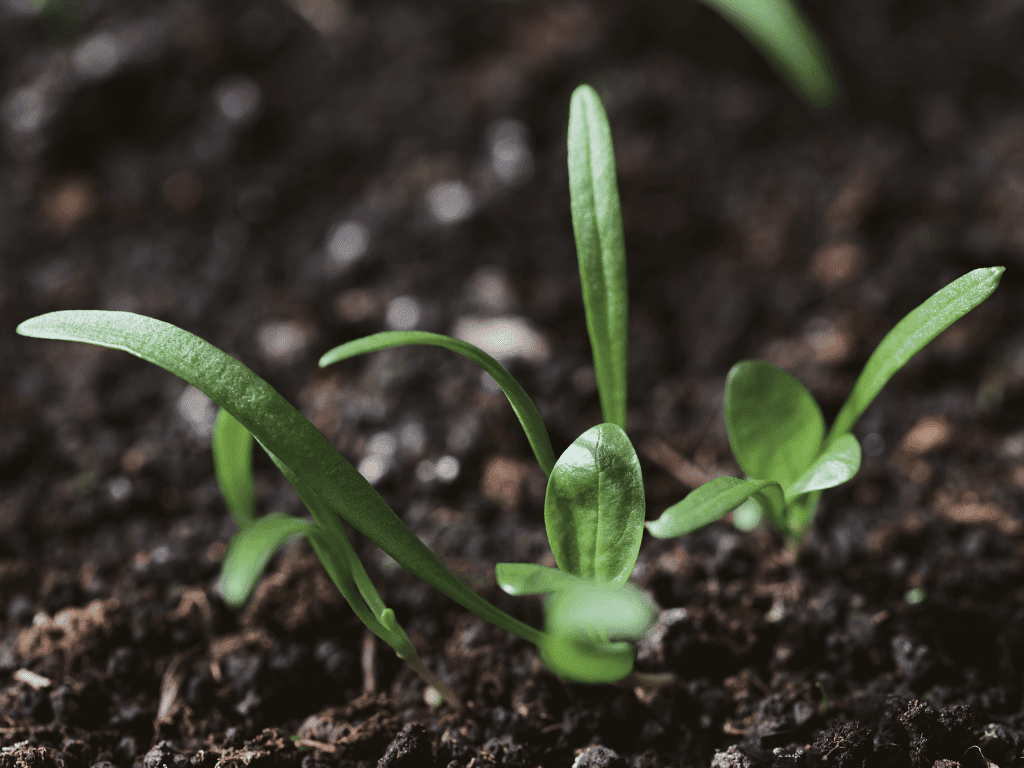
Spinach can be started indoors to get a jump start on the growing season, especially in areas with short springs. Spinach seedlings are ready to be moved outdoors when they have at least 2-3 true leaves, which usually happens a few weeks after germination. However, before transplanting the seedlings outdoors, they need to be hardened off.
Hardening off is a process of acclimating indoor-grown plants to outdoor conditions over a period of about a week or two. Start by putting the seedlings outside in a sheltered location for a few hours a day, gradually increasing the time they spend outdoors and the amount of sunlight they receive.
Dig a hole in the prepared soil, making it deep enough to accommodate the roots of the seedling. Gently remove the seedling from its container, being careful not to damage the roots. Place the seedling in the hole, ensuring that the top of the root ball is level with the soil surface. Backfill the hole with soil and firm it gently around the base of the plant.
Use a watering can or hose with a gentle spray to thoroughly water the area around the base of the plants. Be careful not to wash away the soil or damage the tender seedlings with a strong stream of water.
The process of transplanting can be stressful for plants, so be gentle with the roots. Watering helps to settle the soil around the roots, eliminating air pockets and ensuring that they are in good contact with the soil. This helps the plants to recover more quickly and begin growing in their new location.

Aftercare
In the days following transplanting, keep an eye on the seedlings and water regularly, especially if the weather is dry. The goal is to keep the soil evenly moist but not soggy. Over time, as the plants establish and grow larger, you can gradually reduce watering frequency and allow the top inch of soil to dry out between waterings.
Add mulch around the base of the seedlings to help conserve moisture, suppress weeds, and regulate soil temperature.
Join Our Newsletter
Sign up for our monthly newsletter to get easy gardening tips, seasonal to-dos, and herbal recipes delivered right to your inbox.
Thank you!
Check your email to confirm your subscription.
Caring for Your Spinach
Maintaining your spinach plants involves regular watering, weeding, and fertilizing. Spinach needs an evenly moist soil, but the frequency of watering will depend on your soil type and climate. A good rule of thumb is to water once the top inch of soil feels dry to the touch.
Remember to weed your garden regularly to reduce competition for nutrients and light.
Apply a balanced vegetable fertilizer (such as a 10-10-10) or a nitrogen-rich organic fertilizer, like fish emulsion, every 2-3 weeks. Follow the application instructions on the fertilizer package.
Harvesting Spinach
Your spinach is ready to pick when leaves are large enough to eat – usually when they are about 3 to 5 inches long. To harvest, simply cut the outer leaves off at the base of the plant, leaving the center of the plant intact for continued growth. This way, your spinach will keep growing even after you pick it, providing a continuous harvest.

The best time to harvest spinach, and most other vegetables, is in the morning. After a night of rest, plants are full of moisture and at their crispest. Also, the cooler morning temperatures help keep the leaves from wilting.
When you harvest in the morning, the spinach hasn’t yet been stressed by the heat of the day, so it will be fresh and tender. It’s also a good idea to harvest before the sun is shining directly on the leaves, as heat can cause the leaves to wilt quickly after they’ve been cut.
If you can’t harvest in the morning, the next best time is in the cool of the evening. However, keep in mind that the leaves will have lost some of their moisture to the heat of the day, so they may not be quite as crisp as they would be in the morning.
After harvesting, if you’re not using the spinach immediately, store it in the refrigerator to keep it fresh. You can rinse it and spin it dry, then store it in a plastic bag or container in the crisper drawer. A little bit of moisture left on the leaves will help keep them fresh, but too much can promote rot, so it’s a balance. Use the spinach within a week for the best quality.
Saving Spinach Seeds
At the end of the growing season, allow a few mature spinach plants to bolt and produce seeds. You can collect these seeds for planting next season or let them drop and self-sow, giving you new plants the following year.
For the best results, select the healthiest and largest plants to go to seed. A single spinach plant can yield up to 100 seeds, providing more than enough for next year’s crop!
Common Problems and Solutions
While spinach is relatively easy to grow, it can be affected by certain pests and diseases. Leaf miners, aphids, and slugs are common pests that can damage your spinach crop. These can usually be controlled by handpicking or using row covers.
My spinach plants are most affected by leaf miners. I check the undersides of the leaves every morning or evening and just wipe off the little white eggs.
Bolting, or premature seeding, is another common issue when growing spinach. This usually happens when the weather gets too hot or the plants experience stress. To prevent bolting, ensure your plants are well-watered and get some afternoon shade during hot days.
🌱 Plant your spinach with something tall, like sugar snap peas. As the weather warms and the peas begin to grow taller and fill out, they provide some afternoon shade for the spinach plants.
Spinach Diseases
Spinach can be affected by downy mildew and white rust. To prevent these, ensure good air circulation around your plants, avoid overwatering, and practice crop rotation.
Downy Mildew: This is a fungal disease that can affect spinach and other plants, causing yellowing, stunted growth, and a white, fluffy growth on the undersides of leaves. It spreads through airborne spores that are released from infected plants. These spores require moist conditions to germinate and infect new plant tissues.
To prevent downy mildew, provide adequate spacing between plants to promote good air circulation, water plants at soil level early in the day. Remove and destroy any diseased leaves.
White Rust: This is another fungal disease that can affect spinach plants, among other cruciferous crops. It is caused by the pathogen Albugo candida, and it primarily affects the leaves, stems, and flower parts of the plant. The most effective spinach white rust treatment is prevention.
White rust initially appears as small, raised, white or pale yellow pustules or blisters on the undersides of spinach leaves. Over time, these pustules can grow and become more prominent. As the disease progresses, the affected areas can develop a powdery or mealy appearance due to the release of spores. Severe infections can lead to leaf distortion, stunting, and reduced plant vigor.
If your plants become infected with white rust, practice crop rotation by avoiding planting spinach or other cruciferous crops in the same location for at least three years. This helps break the disease cycle and reduces the chances of reinfection.
Remove and destroy infected plant debris to minimize the spread of the disease. Avoid overhead watering, as it can create an environment conducive to disease development.
Join Our Newsletter
Sign up for our monthly newsletter to get easy gardening tips, seasonal to-dos, and herbal recipes delivered right to your inbox.
Thank you!
Check your email to confirm your subscription.


