Why Start Seeds Indoors?
The simplest answer to this question is that starting seeds indoors helps extend the growing season. Plants like peppers and tomatoes need a long stretch of warm weather to produce and ripen fruit, so starting these seeds indoors gives them a head start.
Why not just purchase seedlings from a garden center? You could, and that is an excellent alternative to starting your plants from seed. However, garden centers often have a limited variety of plants, whereas seed catalogs have many more options. Additionally, the cost of purchasing plants from garden centers can get expensive.

Understanding Your Growing Environment
Before you select your seeds, you’ll need some basic information about your growing environment: hardiness zone, first and last frost dates, and climate.
Plant Hardiness Zone
If you live in the United States, visit the USDA’s website and enter your zip code to figure out your zone. The plant hardiness zone indicates the annual lowest temperature ranges for your location. This information is helpful for understanding which perennials and biennials will survive the cold seasons in your region.
I live in a zone 5b region with the lowest average temperature range of -15°F to -10°F, so any perennials or biennials I plant need to be able to withstand those temperatures.

Frost Dates
Your first and last frost dates define the length of your growing season. Keep in mind that they are calculated based on historical averages and are not always 100% accurate. Use them as a guideline when planning your garden but be mindful of the daily weather.
Below is an example of the frost dates for Pittsfield, MA. The growing season for this area lasts from May 13 to October 1. This is the time when all the warm weather/frost-tender plants can safely grow.

To find your frost dates, enter your zip code on the Farmer’s Almanac website.
Some plants can withstand light freezes (30 °F – 32 °F) or moderate to severe freezes (28 °F – 2o °F), so you may be able to plant them outside of the regular growing season.
Some plants that can survive a light freeze:
- beets
- cauliflower
- celery
- collards
- green onions
- potatoes
- leaf lettuce
- parsnips
- radishes
- spinach
- Swiss chard
Some plants that can survive moderate to severe freezes:
- cabbage
- broccoli
- Brussels sprouts
- carrots
- kale
- leeks
- rutabagas
- turnips
Climate
Climate describes the overall weather patterns of a specific region. Some factors that impact your climate include latitude, elevation, topography, proximity to water, humidity, and windiness. This information is useful when deciding which plants to grow in your garden. Some plants, like stinging nettle, prefer very moist, rich soil. If your climate is dry, you may have difficulty growing these types of plants. To get around climate constraints, we can create microclimates within our garden using irrigation, row covers, raised beds, pots & containers, inter-planting (ex: 3 sisters method), or greenhouses.
Learn more about your climate by visiting the National Geographic website.

Seed Starting Methods
There are many ways to start your seeds indoors, and I’ve tried just about every trendy method, from up-cycled egg cartons to cow pots. For the most part they all work, so I encourage you to use whatever technique you feel most comfortable with.
I use soil blocks and domes to start my seeds, so if you are interested in learning more about this method, keep reading!

What is soil blocking?
Soil blocking is a technique for germinating seeds that uses compressed cubes or domes of soil rather than cell trays or pots. The soil is compacted enough that it stays together without the need for a container.

Benefits of soil blocking:
- Healthy roots and plants
- Reduces transplant shock and root disturbance
- Less plastic use by eliminating the need for pots
- Cost-effective by eliminating need to purchase pots
- Don’t have to clean and store different sized pots during the winter
Soil blocks are easy to make and all you need is a tray, your favorite soil mix, water, and a soil blocker. To use, press the blocker into the moistened soil to fill the compartments, then release the blocks onto the tray.
The blockers come in different sizes and styles. I use the small blockers for smaller seeds and seeds that take a long time to germinate, like lavender and rosemary. The large blockers are for seeds that sprout quickly but stay indoors for a few months, like tomatoes and peppers. This reduces the amount of transplanting I need to do before the plants go outside in May.
Planning the Garden
January and February are when I start mapping out my garden and reflecting on the previous year’s successes and failures. I use a combination of raised beds, in-ground beds, and containers to maximize all the space available in the yard.

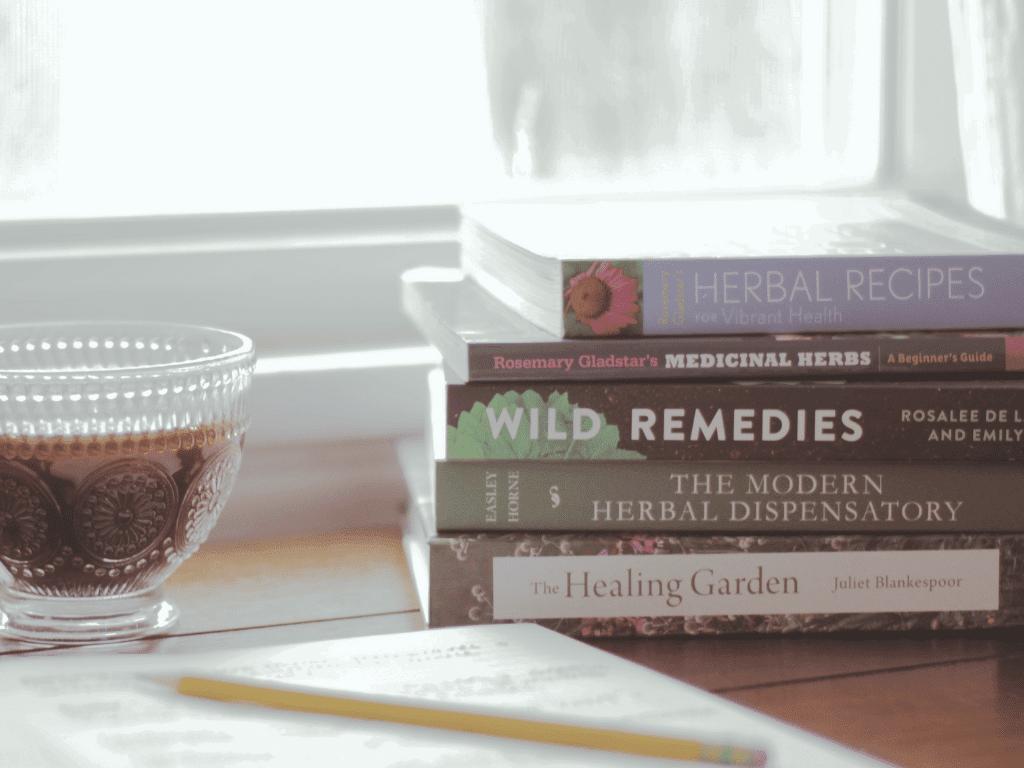
I also implement companion planting and trap crops to deter pests. One of my favorite books to reference during the planning stage is The Organic Gardener’s Handbook of Natural Pest and Disease Control. They discuss how to develop and maintain a balanced ecosystem with organic pest and disease management.
Selecting the Seeds
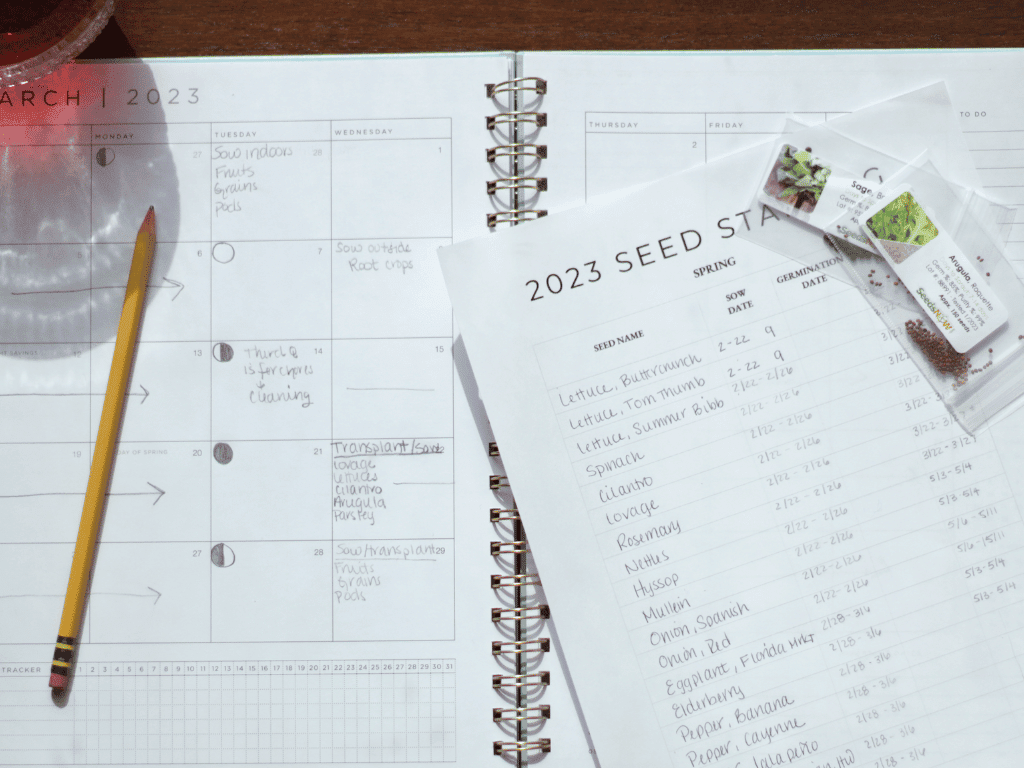
Once I have my garden mapped out, I take inventory of all the seeds I have on hand and write a wish list of the seeds I want to purchase.
I prefer buying heirloom seeds over hybrid varieties so that I can save seeds at the end of the season. Seeds collected from hybrid plants are often not the same as the parent and are less productive. I buy most of my seeds from SeedsNow. I’ve been buying from them for almost ten years, and I always have high germination rates and beautiful crops.
If you don’t plan on saving seeds from your crop, then hybrid varieties can be a good choice, especially for beginners. They typically have beneficial traits like resistance to certain diseases or increased fruit production.
Here are some of my recommended seed companies. This list was compiled by me and a group of gardeners who want to protect the environment and support marginalized groups:
- Alliance of Native Seedkeepers
- Southern Exposure Seed Exchange
- Melanated Organic Seed
- Prairie Moon Nursery
- PineTree Garden Seeds
- Urban Farm Garden Shop
- MIGardener
- Kitazawa Seed Company
- Truelove
- Fruition Seeds
- Seed Mail Seed Co
- Adaptive Seeds
- SeedsNow
- Uprising Seeds
- Siskiyou Seeds
- Fedco Seeds
- Hudson Valley Seed Co
- God’s Garden Girl
Making a Schedule
Writing out a monthly schedule helps me stay on top of all the different requirements of the plants I’m growing. Once I have a master list of all the seeds I am planting, I enter them into a garden calendar that includes all the important dates for each plant variety. Then, I look at all the moon phases for the month and adjust my seed starting dates as needed.
Gathering Supplies
Before you begin collecting seeds and supplies, there are some factors you should consider.
- What is your budget?
- How long will the plants be indoors?
- Where will you store the seedlings as they grow?
- What light source will you provide for the seedlings?
- What are the germination requirements of the seeds (ex. stratification, scarification, light)
Thinking about these things before hand will help you be more successful with your garden and seedlings.
Here is a general list of things you will need to start your seeds indoors:
- Seeds
- Water
- Soil Mix
- Large bin or container for soil storage and blocking
- Blocker (or pots of your choosing)
- Tray with optional lid
- Labels and water proof marker
- Water mister
- Optional heat mat
- Light source (bright sunny window, shop lights, grow lights, etc.)
Sowing the Seeds

- Create the soil blocks and or fill the pots with soil mix
- Add the labels to the blocks/pots/trays
- Sow your seeds by following the directions of the seed packet. If you are unsure of the seed requirements, the general rule is to bury the seed at a depth twice the size of it’s width. Some seeds require light to germinate and should be surface sown.
- Mist the soil with water to make sure the seeds come into contact with the water. Misting prevents the seeds from being disturbed too much.
- Optional – cover the soil with a lid to keep the moisture in. If you don’t have a lid, you may have to mist the seeds daily to them keep moist.
- Once the seeds sprout, put the trays under lights or in a very sunny window.
*Seeds must be kept moist for the duration of the germination process. Mist the soil as needed. Some seeds require cold stratification and/or light in order to germinate.